locust是一款性能测试框架,比JMeter好的地方在于能产生更多的请求,因为locust是基于协程的,而JMeter是基于线程的。
安装 安装成功后查看版本信息:
编写代码 1 2 3 4 5 6 7 8 9 10 11 12 13 14 15 16 17 18 19 20 21 22 23 24 25 26 27 28 29 30 31 32 33 34 from locust import HttpUser, TaskSet, task, between, tagclass MyTask (TaskSet ): token = '' def on_start (self ): self .login_or_register() def login_or_register (self ): url = 'http://api' body = {'id' : 1 } headers = {'token' : 'xxxx' } with self .client.post(url, json=body, headers=headers, name='login_or_register' ) as response: if response.text != '' : res_dict = json.loads(response.text) if res_dict['code' ] == 0 : pass @task @tag('view_page' def view_page (self ): pass class MyUser (HttpUser ): host = '' wait_time = between(1 , 2 )
运行 执行命令
如果只执行带有tag的业务代码
1 locust -f file.py --tags view_page
如果要进行分布式测试,首先启动master,master是管理节点,在这个节点上面查看统计数据。
1 locust -f file.py --tags view_page --master
再开两个worker节点, 如果主节点和从节点不在一台机器上,那需要指定master-host参数。
1 locust -f file.py --tags view_page --worker --master-host=192.168.1.2
当worker节点启动后,master的console里面会显示:
1 2 [2021-03-05 18:42:39,333] /INFO/locust.runners: Client '1140b3a3ec57404194845264ee8dae1f' reported as ready. Currently 1 clients ready to swarm. [2021-03-05 18:45:13,222] /INFO/locust.runners: Client '8f1e5206c38f4f99a55641f1cf0c44d1' reported as ready. Currently 2 clients ready to swarm.
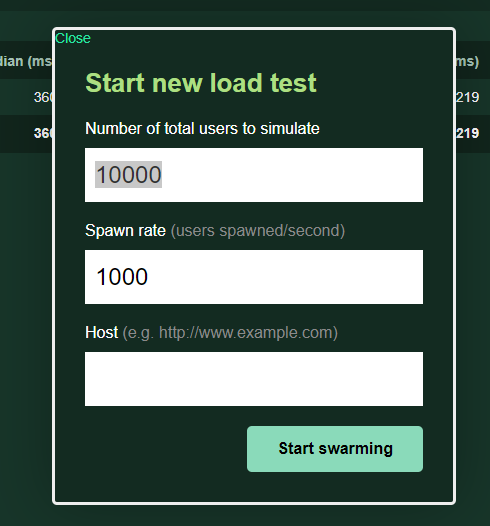
打开压测页面,http://localhost:8089/